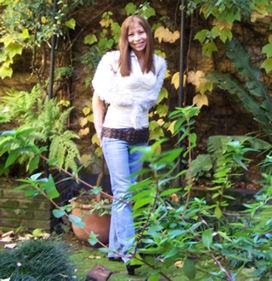
The second version of "Splendor" but animated
By Sofía©
By Sofía©
With the completed image, in the layer named “Back”
Layers, New Raster Layer name it “Star”
Tools / Tubes, we choose a sparkle white size 25 and we apply it in a pair of places,
in my example, I put three, is just to enhance the work in some areas.
Go back to our layer “Back” Edit / Copy
We open the Animation Program
We Paste as new image the layer “Back”, duplicate the frame until we have eight frames, Minimize
Go back to your PSP program and to our layer "Star" Edit / Copy and Paste this layer
in the Animation as New Image
Now, we go to the Toolbar (in the Animation): Effects/Insert Image Effects
and we apply the next settings, option Gaussian Blur:
An animation of 5 frames will be created, we will select frames 5, 4, y 3
Edit / Copy
Paste as a new image, Edit / All Select
Go to Animation / Reverse Frames
Edit Copy / Paste / After Current Frame and we paste this new animation of the little sparkles after the last frame of our animation of stars initial.
Now we are going to have 8 pictures
Edit / All Select
Edit / Copy
We come back to our animation that had 8 frames
Edit / Paste / Into the Selection
Speed of the pictures: you keep predetermined of 10
Save according to the next settings:
Edit / Copy
Paste as a new image, Edit / All Select
Go to Animation / Reverse Frames
Edit Copy / Paste / After Current Frame and we paste this new animation of the little sparkles after the last frame of our animation of stars initial.
Now we are going to have 8 pictures
Edit / All Select
Edit / Copy
We come back to our animation that had 8 frames
Edit / Paste / Into the Selection
Speed of the pictures: you keep predetermined of 10
Save according to the next settings:
Click in Next
click in Accept
click in Accept
Ready! we have finished the second version of the tutorial Animated Splendor.
You design will look like this:
You design will look like this:
We finish, I hope you enjoyed it.
Sofía©
©Copyright Tutorial " Animated Splendor " By Sofía©
Written especially for PSPFULLADDICTION© in 01-04-2006
in Buenos Aires - Argentina
Translate by Sofía©
in 02-02-2008
somewhere on the other side of the world.
Sofía©
©Copyright Tutorial " Animated Splendor " By Sofía©
Written especially for PSPFULLADDICTION© in 01-04-2006
in Buenos Aires - Argentina
Translate by Sofía©
in 02-02-2008
somewhere on the other side of the world.


No comments:
Post a Comment